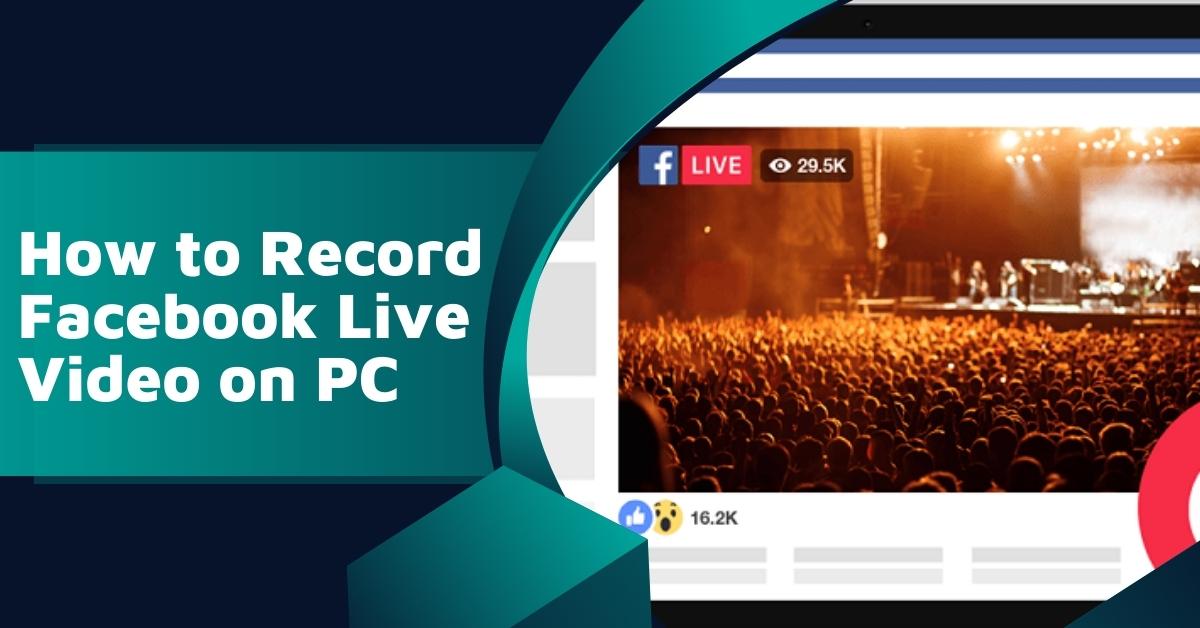
In this article, we will explore the step-by-step process of recording Facebook Live videos on your PC. Whether you want to save an important event or capture a memorable moment, recording Facebook Live videos on your computer is a useful skill to have. We will guide you through the necessary steps, ensuring you can easily record and revisit those special moments at your convenience.
Facebook Live has become a popular feature for users and businesses alike. It allows you to broadcast live video to your followers in real-time, fostering engagement and interaction. However, Facebook doesn’t provide a built-in option to download or save these live videos. To overcome this limitation, we will guide you on how to record Facebook Live videos on your PC.
Understanding Facebook Live
Facebook Live is a feature on the Facebook platform that enables users to share live video content with their friends, followers, or specific audiences. It has gained immense popularity due to its interactive nature, enabling real-time comments, reactions, and questions from viewers.
Benefits of Recording Facebook Live on PC
Recording Facebook Live on your PC offers several advantages. Firstly, it allows you to save the video for future viewing or sharing on other social media platforms. Secondly, you can edit the recorded video to enhance its quality or add additional content. Lastly, recording on your PC ensures a stable and high-quality video capture.
Setting Up Your PC for Recording
Before you start recording, ensure your PC meets the minimum requirements for smooth video capture. Check your internet connection, as a stable connection is crucial for uninterrupted broadcasting. Additionally, ensure you have enough storage space on your hard drive to save the recorded video.
Choosing the Right Recording Software
Selecting the appropriate recording software is vital for a seamless experience. There are various screen recording tools available, both free and paid. Look for software that offers high-definition recording, customization options, and easy-to-use controls.
Configuring Recording Settings
Once you have chosen the recording software, configure the settings to suit your preferences. Adjust the video quality, frame rate, and audio settings to achieve the best results. Test the recording beforehand to ensure everything works correctly.
Initiating the Facebook Live Recording
Now comes the exciting part – starting the Facebook Live recording. Log in to your Facebook account and access the Live feature. Before going live, choose the privacy settings, title, and description for your video. Once everything is set, hit the “Go Live” button.
Managing and Editing Recorded Videos
After concluding your Facebook Live broadcast, the recorded video will be available on your PC. Take the time to review the video and edit it if necessary. Trim the video, add captions, or enhance the audio to create compelling content.
Don’t Miss>>
- How to Get 1000 Followers on Facebook Fast
- How to Get Coaching Clients on Facebook
- How to Find Someone’s Profile on Facebook Dating
Best Practices for Facebook Live Recording
To make the most of your Facebook Live recordings, follow these best practices:
- Promote the broadcast beforehand to attract a larger audience.
- Interact with viewers during the live stream, responding to comments and questions.
- Keep the video concise and focused on the main topic.
- Use captivating visuals and clear audio to engage viewers.
Tips for Engaging Live Videos
Engagement is key to a successful Facebook Live video. Try these tips to make your videos more engaging:
- Begin with an attention-grabbing introduction.
- Incorporate storytelling to connect with the audience emotionally.
- Encourage viewers to like, share, and comment on the video.
- Use Facebook Live analytics to understand your audience better.
Leveraging Facebook Live for Your Business
For businesses, Facebook Live can be a powerful marketing tool. Use it for product launches, behind-the-scenes peeks, Q&A sessions, or interviews with industry experts. Engaging content can help build brand loyalty and attract new customers.
Interacting with Your Audience
Engaging with your audience during the live video is essential. Address viewers by their names, answer their questions, and acknowledge their comments. This personal touch fosters a sense of community and encourages viewers to stay connected with your brand.
Dealing with Technical Issues
While broadcasting live, technical issues may arise. These could include internet connection problems, audio or video glitches, or unexpected interruptions. Be prepared to handle such situations calmly and professionally.
Frequently Asked Questions (FAQs)
- Can I download someone else’s Facebook Live video on my PC?
- No, Facebook doesn’t allow users to download someone else’s live video. You can only record your own live videos.
- Can I schedule a Facebook Live video in advance?
- Yes, you can schedule a live video in advance to notify your audience about the upcoming broadcast.
- Can I edit the title and description after the live video ends?
- No, once the live video ends, you cannot edit the title or description. However, you can edit the recorded video before re-sharing it.
- Is Facebook Live available for business pages?
- Yes, Facebook Live is available for both personal profiles and business pages.
- Can I block specific users from viewing my Facebook Live video?
- Yes, you can restrict the audience for your live video by adjusting the privacy settings before going live.
Recording Facebook Live videos on your PC opens up a world of possibilities for preserving memories, creating engaging content, and promoting your business. By following the steps outlined in this article, you can confidently record and share your live videos with your audience.